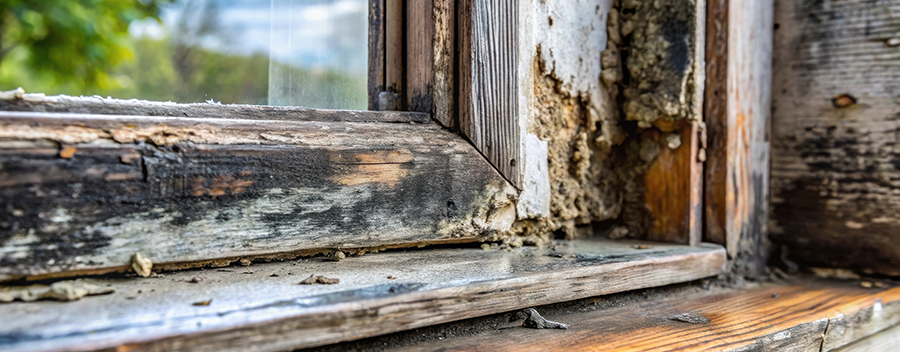
Epoxy wood-rot repair for historic double-hung sashes (in-place friendly): an expert review
Epoxy repairs can absolutely be legitimate, long-lasting restoration work on historic sashes—but only when you treat the sash like a water-managed system, not a sculpture project. The best epoxy repairs are small-to-medium, profile-accurate rebuilds after you remove all unsound wood and fix the moisture path that caused the rot.
If the damage turns out larger than expected, the “measurably better” method is often a wood splice (Dutchman repair)—cut back to sound wood and graft in new matching wood—because it keeps the sash acting like wood and stays more repairable over time. Epoxy still has a place (especially for tight corners and crisp profiles), but it shouldn’t be the default for big structural losses.
What epoxy can realistically fix on a sash
Best candidates (high success rate):
Rot at the bottom corners (lower stile/bottom rail junction)
Localized rot along the bottom rail
Small losses at the glazing rabbet corners
Dings, checks, and missing edges where you need to recreate a profile
Borderline candidates (possible, but inspect carefully):
Longer bottom-rail rot where most of the rail is still sound
Areas near joints where the joint is still tight and wood behind it is sound
Poor candidates (pivot to splice or rebuild):
Bottom rail is soft across most of its length
Joints are loose, tenons are compromised, muntins are failing
The sash is “spongy” as a whole (rot isn’t localized)
Product recommendation: the go-to epoxy system for old-window work
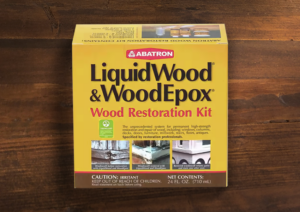
Best overall (most restoration-proven):
Albatron WD RESTORATION KT 24OZ- REPAIR DAMAGED WOOD: Permanently harden, regenerate, fill, replace, and waterproof damaged wood with this epoxy hardener and filler kit.
Check current Amazon priceWhat it is: A low-viscosity, two-part epoxy resin that soaks into dry, punky/porous wood fibers and cures hard, essentially turning weak wood into a tougher, bonded substrate.
When you use it:
The wood is soft/punky but not totally gone.
You’ve removed the worst rot, but the remaining fibers are still questionable.
You want to improve bond strength before rebuilding missing sections.
What it’s not for: Filling big voids or rebuilding edges/corners by itself—because it’s a liquid, not a shapeable compound.
Abatron WoodEpox Kit – 12 oz – 2-Part Structural Epoxy Adhesive – Wood Filler Putty
Check current Amazon priceWhat it is: A two-part epoxy paste/putty that you knead/mix and then pack, sculpt, and rebuild missing wood—corners, edges, profiles, rabbets. It’s designed to be shrink-free and used in “any thickness,” then shaped/sanded and painted.
When you use it:
You have missing wood (voids, eroded corners, lost profiles).
You need a repair you can shape to match historic sash geometry.
You want a durable, paintable rebuild after consolidation.
Why this system is a strong fit for historic sashes
Predictable shaping/sanding for crisp edges (important on sash profiles)
Two-step approach matches how rot behaves (reinforce first, then rebuild
It’s used and demonstrated by reputable restoration sources.
Strong alternative system (links will take you to Amazon’s product page): System Three SculpWood or System Three EndRot Repair Kit
System Three’s RotFix is another well-regarded epoxy sealer/consolidant as part of an “EndRot” approach, with compatible fillers (SculpWood variants).
If you already use marine-grade epoxies or want to compare systems, it’s a credible option.
Steps: In-place sash rot repair with epoxy (historic-minded, lead-safe)
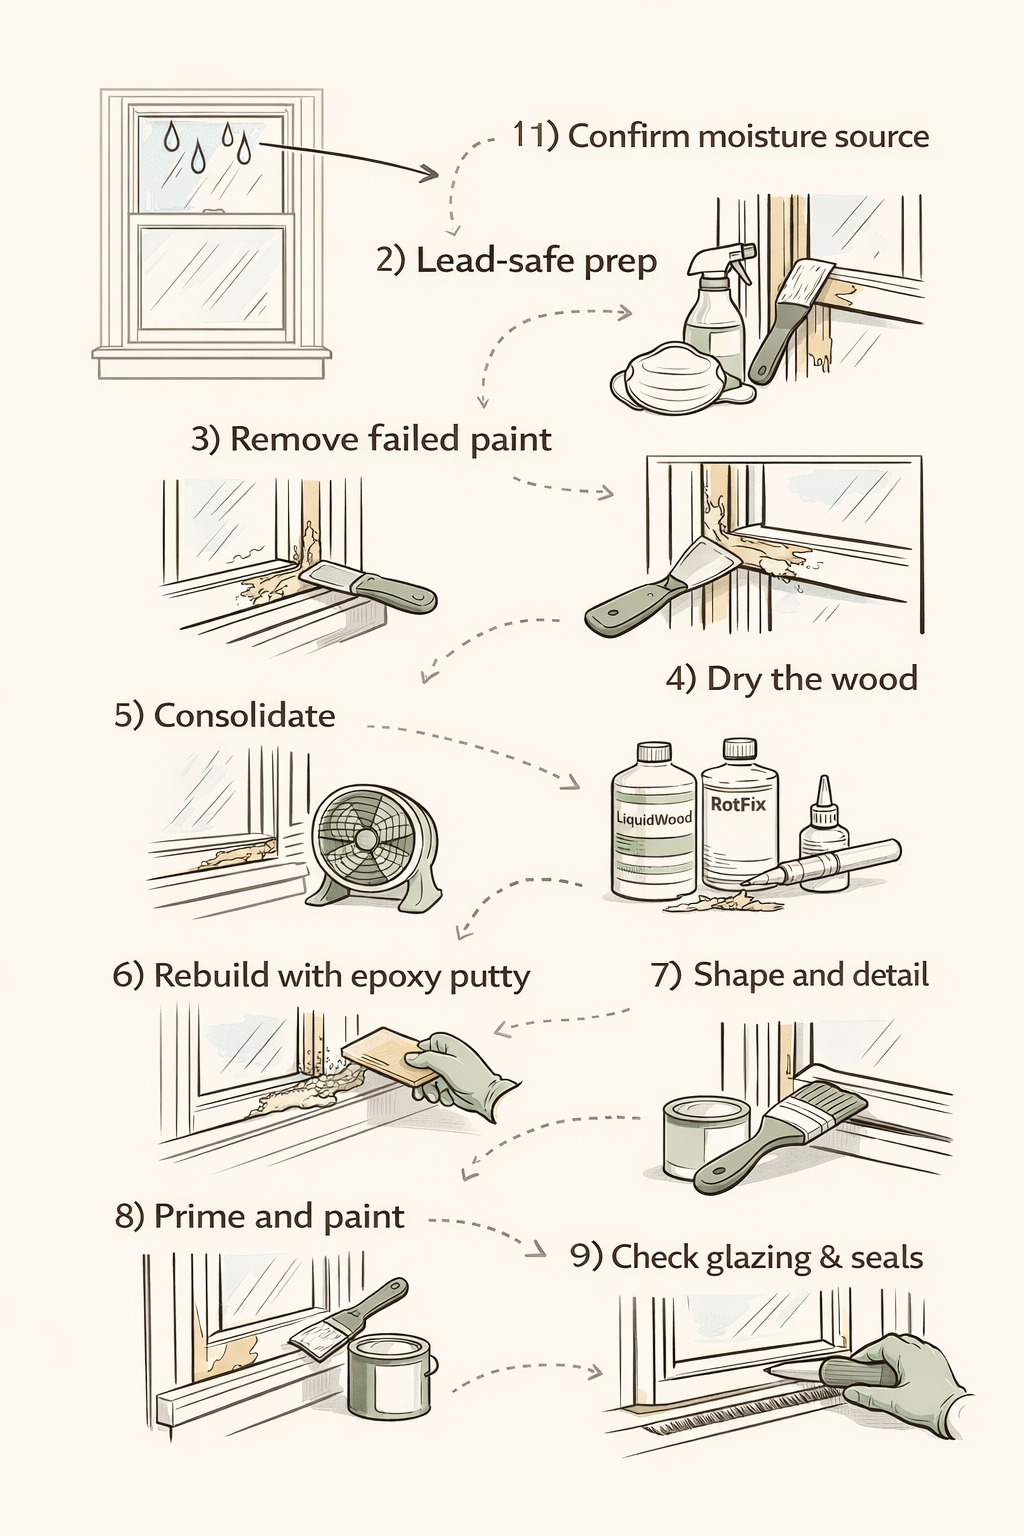
1) Confirm the moisture source (or the rot will come back)
Before epoxy, look for:
Failed paint on the bottom rail and end grain
Gaps/failed glazing putty letting water sit in the rabbet
Storm window issues (no storm, poor venting, trapped moisture)
Exterior water-shedding problems keeping the sash wet
If you can’t reduce wetting and allow drying, epoxy becomes a “pause button,” not a cure.
2) Lead-safe prep (assume lead paint)
Contain dust (plastic sheeting, keep the work zone small)
Use wet methods and a HEPA vac where possible
PPE matters: at minimum a proper respirator (P100) for disturbance work
(If you publish a lead-safe sidebar article, link it here—this is where readers need it most.)
3) Remove failed paint and ALL unsound wood
The repair succeeds or fails here.
Strip/scrape only what you need to expose the repair zone
Dig out rot until you hit firm wood (no easy screwdriver sink)
4) Dry the wood
This is non-negotiable. This Old House explicitly calls out using a moisture mete and targeting under ~18% moisture content before epoxy.
That one detail separates “repair” from “redo.”
5) Consolidate (LiquidWood/RotFix step)
Apply the consolidant to stabilize borderline fibers and create a better bonding base. This step is why two-part systems are often more durable than “filler only” approaches.
6) Rebuild in layers with structural epoxy putty
Build up in thin lifts rather than one big blob
Use temporary “forms” (tape/plastic/scrap) to keep lines crisp
Recreate the water-shedding geometry (bottom edges, corners, glazing rabbet)
7) Shape, fair, and detail the profile
Once cured, shape to match the original sash. Don’t obsess over perfection—obsess over fit and water shedding.
8) Prime and paint promptly
Most sash rot begins as a finish failure. Epoxy is not UV protection; paint is.
Prime all newly exposed wood/epoxy
Paint thoroughly, especially lower edges and end grain
9) Re-check glazing and weather details
If glazing putty is cracked or gaps exist in the rabbet, address that next—otherwise you’re rebuilding wood that will be re-wetted.
When to pivot mid-project (the “you opened it up and it’s worse” plan)
If, once you start, you find: rot runs far along the bottom rail, joints are loose, or the rail is structurally compromised…then the better long-life move is usually:
splice/Dutchman repair (replace the rotten portion with new matching wood), or
bottom-rail replacement on the sash (still preservation-friendly when done carefully)
Epoxy can still be used for small profile finishing after a splice, but it shouldn’t be asked to replace major structure.
Some recommended tools
Must-haves
Mixing supplies: cups, sticks, disposable brushes, putty knives, something you can safely use for rot removal, Detail chisels / pick set, etc.
General Tools MMD4E Digital Moisture Meter, Water Leak Detector – Amazon’s pick.
Check current Amazon priceOpinion: The pin type meter is better for pin-pointing small area moisture and sub-surface moisture. You can pay a little more and get a dual version (pin and pinless). Depends on how much you think you’ll use it.
3M P100/OV Odor/Particulate Multi-Purpose Reusable Respirator 65021
Check current Amazon priceOpinion: You should have one of these already if you’re doing any old home restoration work. Keep the lead, dust, and chemicals out of those lungs!
Saker Contour Gauge Tool for Woodworking & DIY
Check current Amazon priceOpinion: This is a “nice-to-have” for a lot of different projects, but don’t let this prevent you from doing the project yourself.
For watchers: epoxy in real-world window/trim repairs
For readers: epoxy in real-world window/trim repairs
https://www.thisoldhouse.com/woodworking/how-to-fix-rotted-wood-with-epoxy?utm_source=chatgpt.com