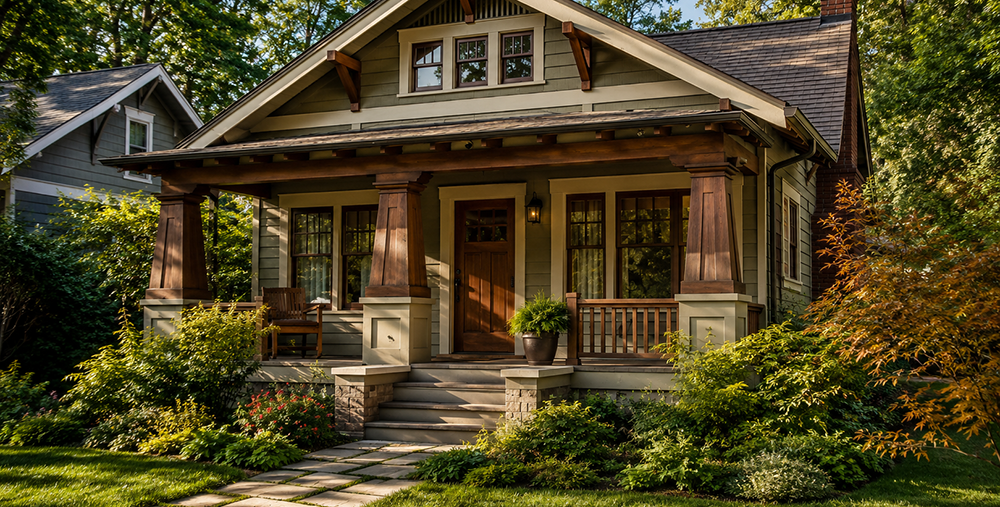
Paint vs. Stain for Craftsman Homes: A Decision Guide
(With Budget + Maintenance Reality Checks)
Craftsman exteriors are all about material honesty: wood that looks like wood, trim that looks substantial, and color that supports the architecture instead of shouting over it. That’s why the “paint vs. stain” question comes up so often with bungalows and Arts & Crafts homes. It’s not just a finish choice—it affects maintenance cycles, prep intensity, and how (or whether) the wood can dry out over time.
A helpful baseline: in optimal conditions, paint often lasts longer between refreshes than stain, while stain tends to fail more gracefully (fading vs. peeling). Sherwin-Williams summarizes typical ranges as roughly 5–10 years for paint and 2–8 years for stain, depending on exposure and system quality.
This post gives you a practical way to choose, plan a realistic budget, and avoid the most common “old house” pitfalls.
Start here: what are you actually coating?
Before picking paint or stain, classify each exterior surface. Craftsman homes often mix materials:
- Wood lap siding
- Cedar shingles/shakes (often in gables or entire upper stories)
- Painted trim (windows, fascia, corner boards)
- Porch elements (posts, rails, beadboard ceilings)
- Masonry (stone piers, brick chimneys)
Decision rule that saves a lot of heartache:
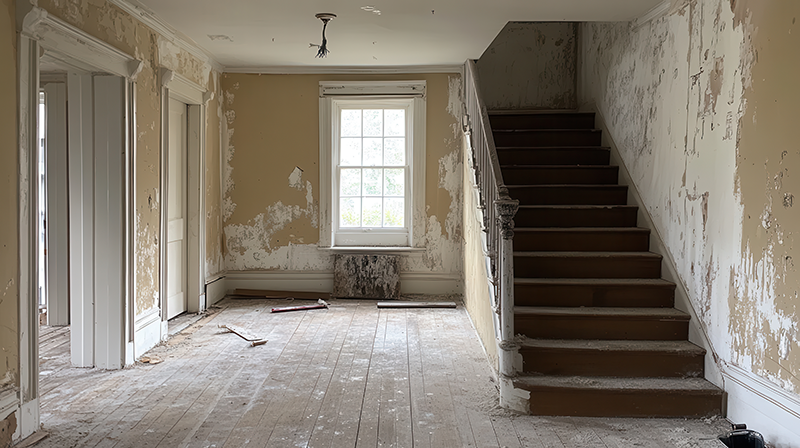
If a surface has been painted for decades, switching it to stain is usually a major stripping project and may not be worth the risk to historic wood. In those cases, a high-quality paint system is the “respect the existing reality” choice – of course, it’s a personal choice. Just consider the effort to strip and stain vs. repainting.
Paint vs. stain: quick comparison (old-house edition)
Paint is usually best when…
- The surface is already painted (especially multiple old layers).
- You need crisp definition on trim, window casings, brackets.
- The surface gets hard weather (driving rain, high UV, wind).
- You want a longer refresh cycle if prep is done right.
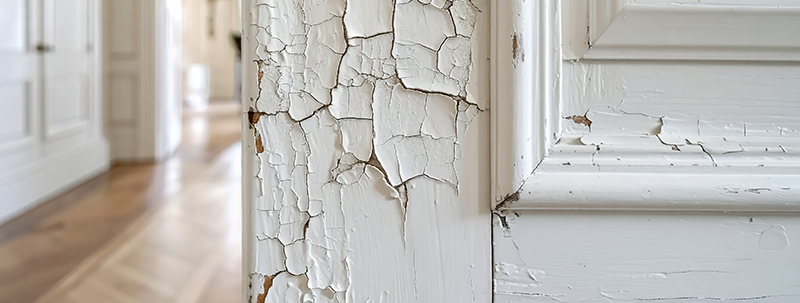
Typical failure mode: cracking/peeling when moisture gets behind the film.
Stain is usually best when…
- You have wood intended to read as wood, especially cedar shingles/shakes.
- You prefer a finish that wears down instead of peeling off.
- You’re okay with more frequent recoats (often sooner than paint).
Typical failure mode: fading, thinning, uneven weathering—especially on sunny exposures.
The Craftsman-specific sweet spot: mix paint and stain on purpose
Some of the most “right” Craftsman exteriors aren’t paint-only or stain-only—they’re painted body/trim + stained shingle accents (or stained porch ceiling/details). That combo keeps the architecture grounded and avoids the “everything got sprayed the same color” look.
Where stain often shines on Craftsman homes:
- Cedar shingle gables
- Brackets/knee braces when historically wood-forward
- Porch ceilings (beadboard), if appropriate to the home’s story
Where paint usually wins:
- Windows and trim (detail definition + protection)
- Previously painted lap siding
- High-wear porch rails and posts (depending on exposure and abuse)
Which way to go – Stain vs. paint?
Mini Tool
Paint or Stain? Quick Surface Decision Tool
Score the surface from 1–5 in each category. Your total will point toward paint, stain, or a hybrid Craftsman-friendly approach.
1. What is the existing coating?
2. What is the weather exposure?
3. How detailed is the surface?
4. What is your maintenance tolerance?
Assessment
Choose an answer for each question.
Your recommendation will appear here.
Budgeting: the part most guides skip
The big budget truth
Prep is the project. Coating is the reward.
A paint or stain job on an old Craftsman usually lands in one of these buckets:
- Refresh coat (best-case)
Minimal scraping, stable surface, straightforward wash + spot prime + coat. - Stabilize + recoat (common)
Scrape failing areas, repair small rot, re-caulk selectively, prime, then coat. - Restoration-level prep (expensive, slow)
Lead-safe containment, extensive scraping, repairs, epoxy consolidation, major priming—then coating.
Paint often costs more upfront (more steps, more material), but can buy longer intervals between major refreshes. Stain can be less expensive per cycle but may require more frequent reapplication, especially in sun.
If painting: the “don’t-skip-these” essentials
- Exterior primer matched to the substrate (especially for bare wood or heavy repairs)
- High-quality exterior acrylic paint (satin is common for siding; semi-gloss often for trim)
- Paintable exterior sealant for joints that should be sealed (not every gap is a caulk gap)
- Two-part epoxy wood repair for localized rot (when appropriate)
- Moisture meter for diagnosing wet wood before you lock it under coatings
If staining: what to look for
- Exterior stain type matched to your goal
- Transparent/semi-transparent (shows grain; least “forgiving”)
- Semi-solid
- Solid color stain (closer to paint behavior, but still wears differently)
- UV-resistance and mildew resistance appropriate to your region/exposure
- Maintenance-friendly system you can recoat without heroic stripping later
Universal prep tools
(the boring stuff that decides success)
DAP Dynaflex 230 Pro Elastomeric Sealant
Check current Amazon priceHeavy-Duty Paint Scraper Tool – 2.38-INCH Wide Tungsten Carbide Blade, with Comfort Non-Slip Ergonomic Handle
Check current Amazon priceAbatron WoodEpox Kit – 12 oz – 2-Part Structural Epoxy Adhesive – Wood Filler Putty
Check current Amazon pricePrefer to get prefessional help?
Try Angi for pros in your area.
Compare quotes from top-rated paintersDisclosure: I may earn a commission if you request service through these links. It doesn’t affect your quote.
Important old-house safety note:
If your home (or any exterior layer) could predate 1978, assume lead paint may be present and follow lead-safe practices; EPA guidance is clear on lead-safe renovation/repair/painting basics. Download this free safety guide (PDF)
“Can I stain over paint?” and other FAQ traps
1. Can you stain over previously painted wood?
Usually no. Stain needs wood to penetrate or bond properly. If the wood is already sealed under paint (or old primer), you’re typically looking at stripping.
2. Is solid color stain “better” than paint?
Not universally. It’s a different system with different failure modes and maintenance expectations. Treat it as its own category—not a shortcut.
3. Will stain always prevent peeling?
Stain generally doesn’t peel in the same way as paint film can, but it can still fail—just differently (fading, patchy wear, water spotting).
Practical bottom line
- If it’s already painted or high exposure, paint is usually the smarter long-term system.
- If it’s cedar shingles or truly wood-forward details, stain can be historically appropriate—especially as part of a hybrid scheme.
- Your best “Craftsman-correct” outcome often comes from treating the exterior as zones, not forcing one finish everywhere.
Related:
oldhomerestorationguide.com/lead-paint-basics-safety/
oldhomerestorationguide.com/traditional-craftsman-paint-colors-and-classic-exterior-schemes/